A friend of mine built a tabletop cabinet, very well done,
and got all the dimensions down to a T. We've had a couple
of intense and fun gaming sessions on it, and I was very
inspired to build one of my own :)
I wanted a fullsize (or oversize...) one though.
The absolutely first step before anything else, was to measure
the elevator door opening, and all interior door openings in the
apartment. I knew from the start that this would get heavy, and that three stairs would be quite bad.
After that, I started with the side profile in Inkscape.
I think this almost took more time than the complete 3D
model, as I had to decide upon the height and depth of the
control panel, placement of speakers and such, and the
overall design. I actually built the lower parts of the
cabinet in cardboard, 1:1, before I was certain of the
measurements.
I didn't want a too thin arcade cabinet (depthwise), but I
didn't want to make something that looked like a wardrobe with a
monitor inside either, so the monitor is placed deep within, and
the control panel got absurdely deep, but in the end, it was nice
to have somewhere to rest the hands, and I got room to place the
amplifier too.
When I was happy with the sides, the rest of the cabinet was
put together as a 3D model in Blender,
to be used as a kind of blueprint when building. The model was
also perfect to have when making the Attract Mode
theme, as it was hopeless to take a quick photo of the cabinet
with the marquee lit as I wanted a cabinet inside of the cabinet
for the game previews :)
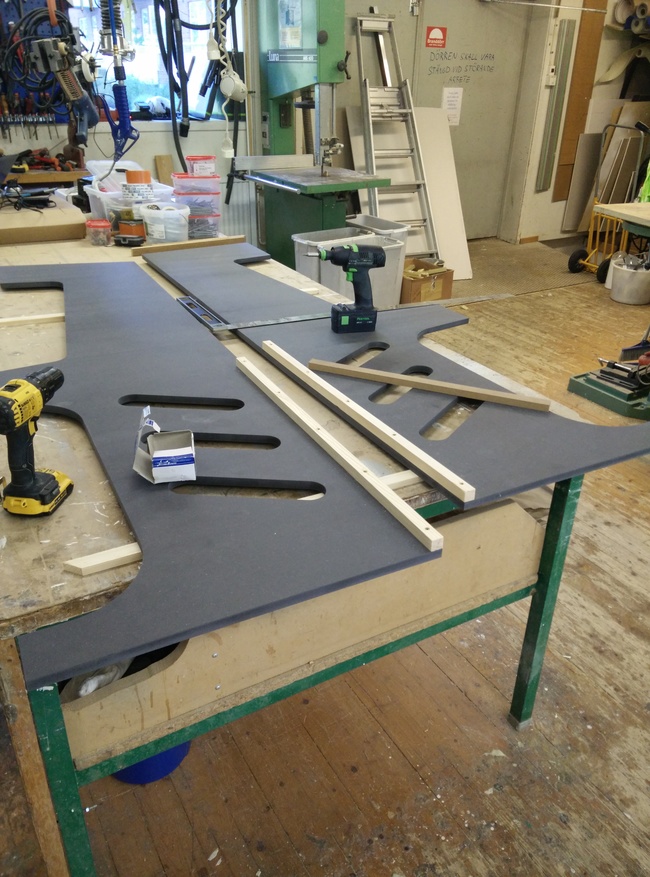
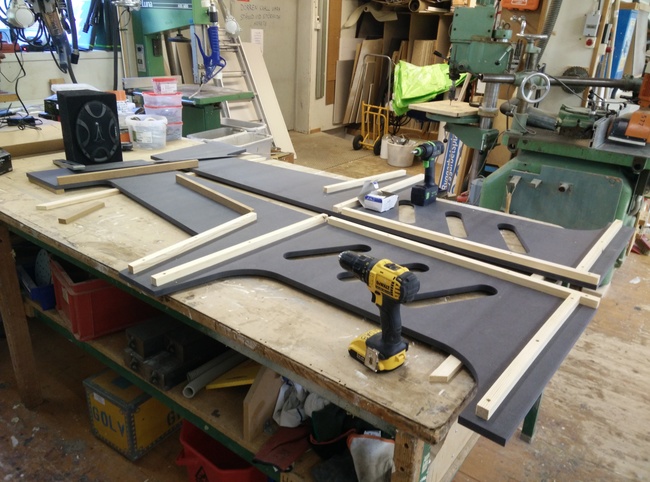
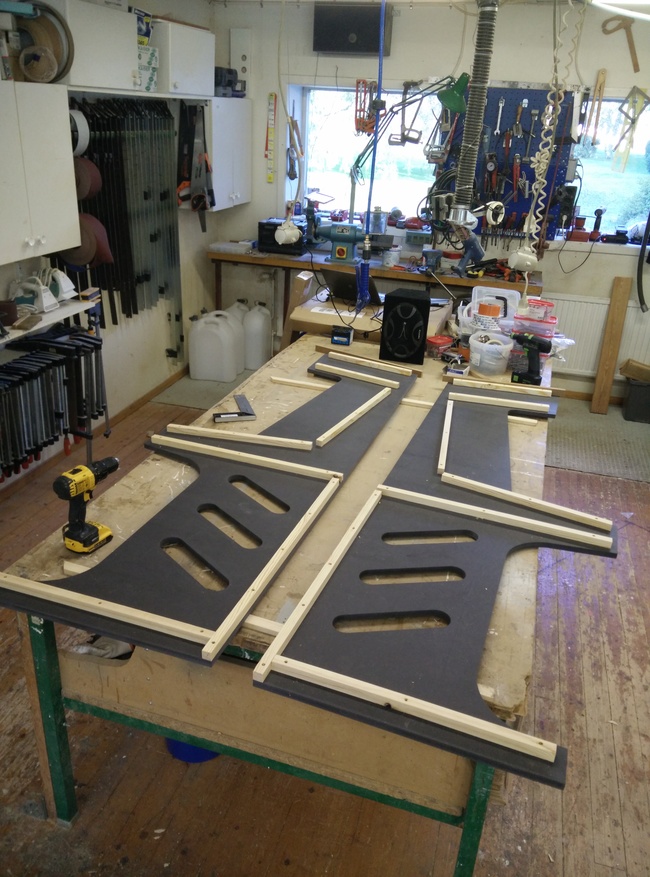
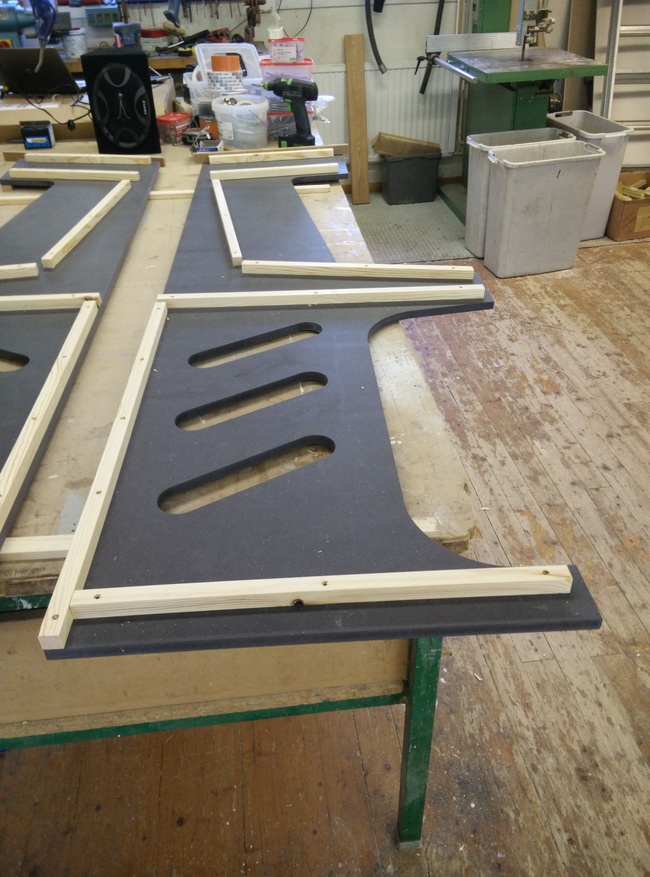
With the design done, the sides got sent for CNC routing.
It was great to have at least them perfect, otherwise the
whole cabinet would have been lopsided :). The cutouts and
arcs came out fantastic!
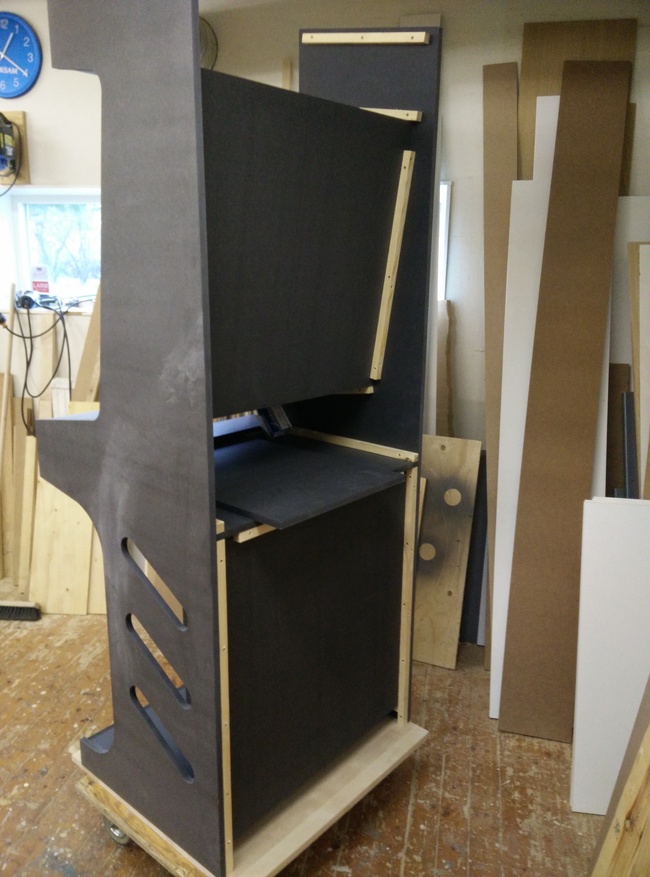
The actual build phase got somewhat intense, I spent 5-7
hours a day after work and 10-12 hours a day of the weekends,
for two weeks, until it was brought home. My father owns a
construction company, and their workshop made the process so
much easier, with every large machine I could possibly need.
There should be some metal plates on the lower parts,
and the coin slots needs to be designed and built, but
otherwise it is fully functional.
The marquee and control panel graphics are also done in
Inkscape, and were sent to the printing company we use at
work, as I didn't want to compromise on the print quality
by using our regular office printers. Both the marquee and
control panel would require multiple A3 also, and the seams
would have bothered me to no end :)
All in all, costs (including the bar stools) where
around 25 000 SEK (~$2950 when writing this).
Click on the categories below to view some images and comments from the build :)
Expand all
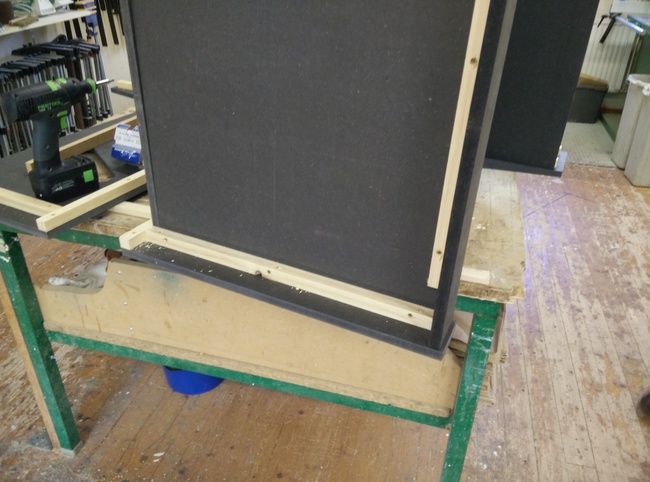
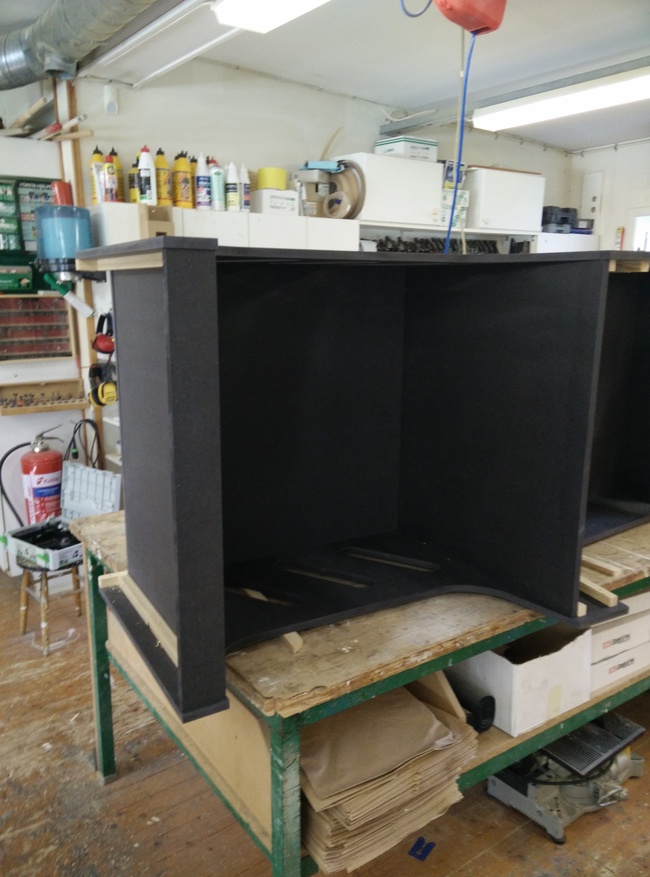
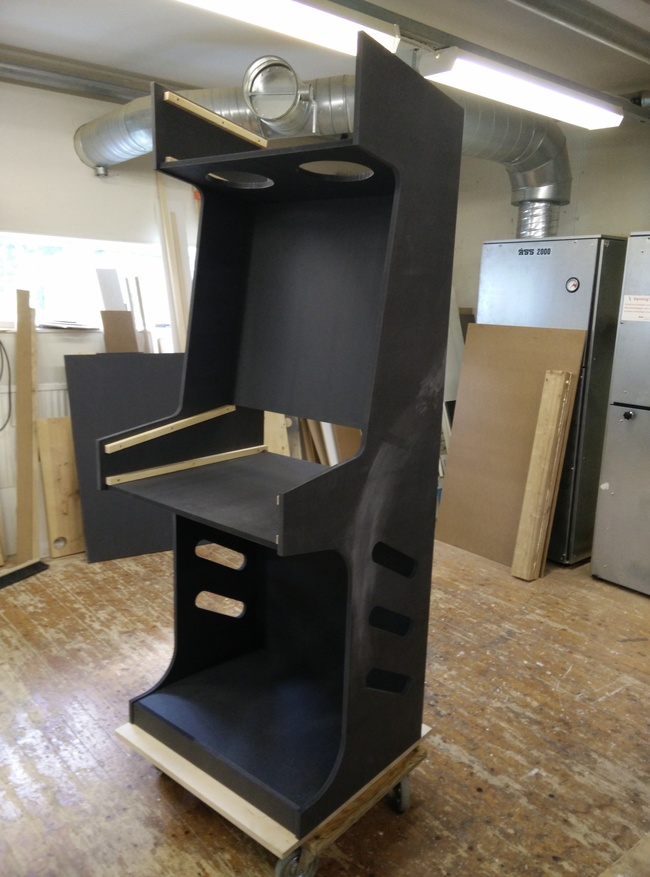
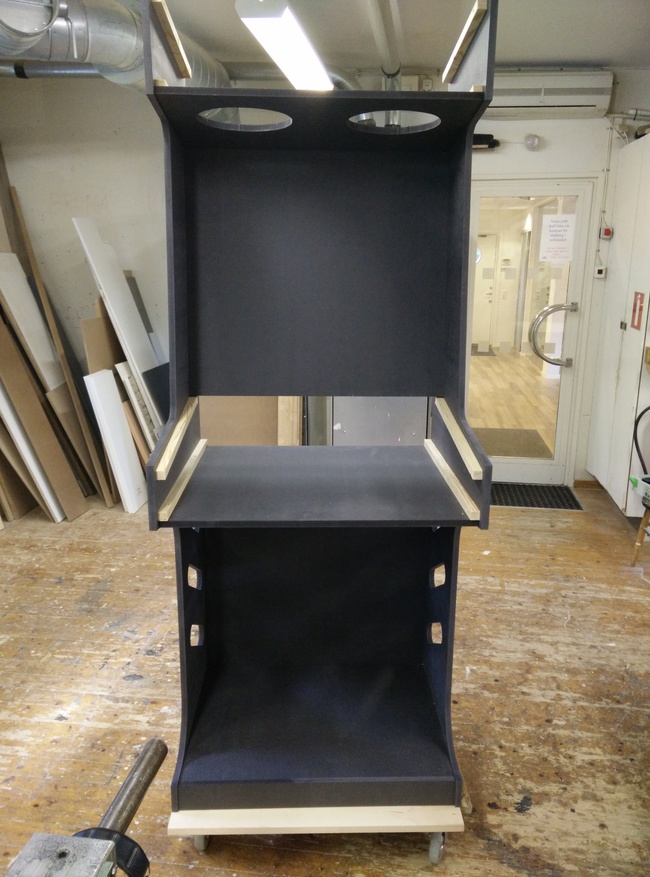
Basic cabinet
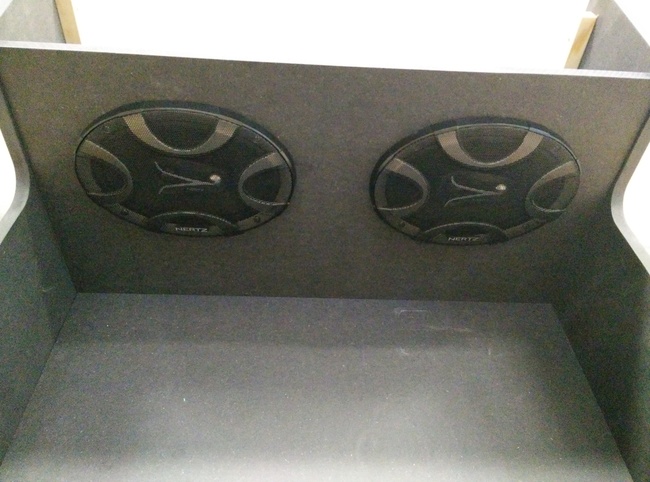
Audio
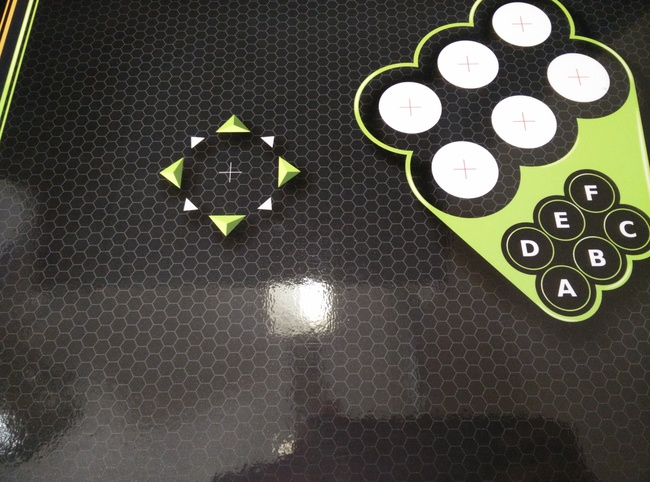
Control panel
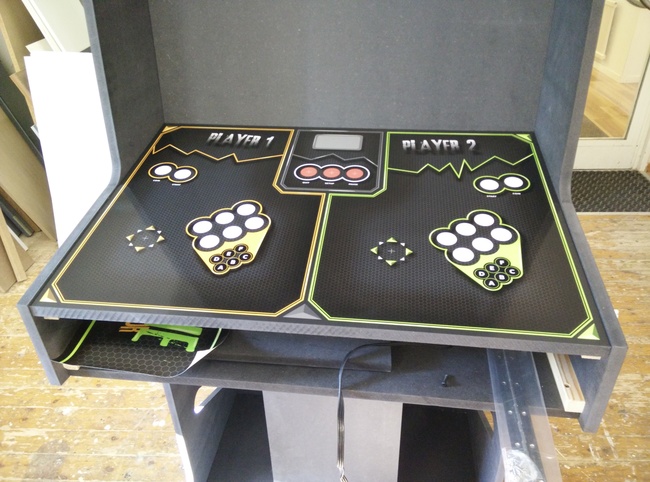
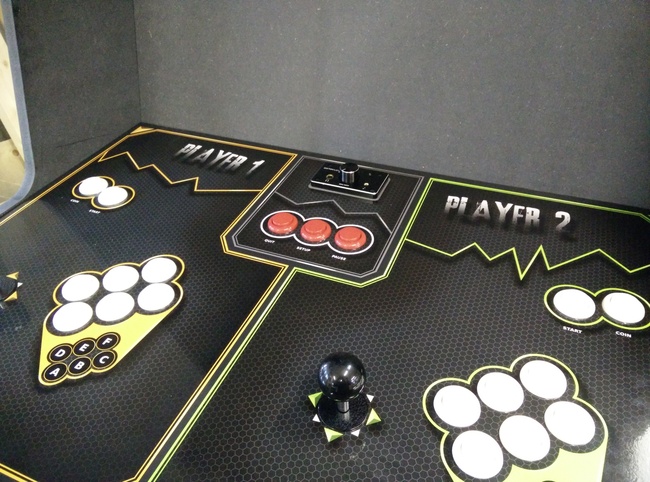
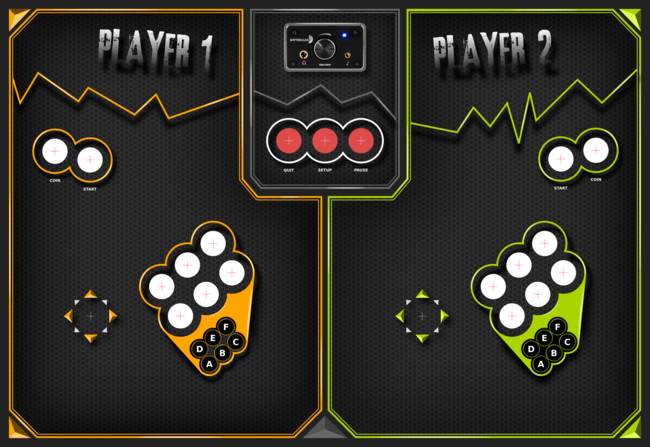
I spent a couple of evenings on the button layout alone, and I really like the steep angle; it is quite nice to be able to have a straight wrist when playing a couple of hours without break.
The control panel graphics was sent to the company we hire at work for our car striping needs. The graphics are laminated, and seems to hold up quite nice so far. And it looks fantastic! :)
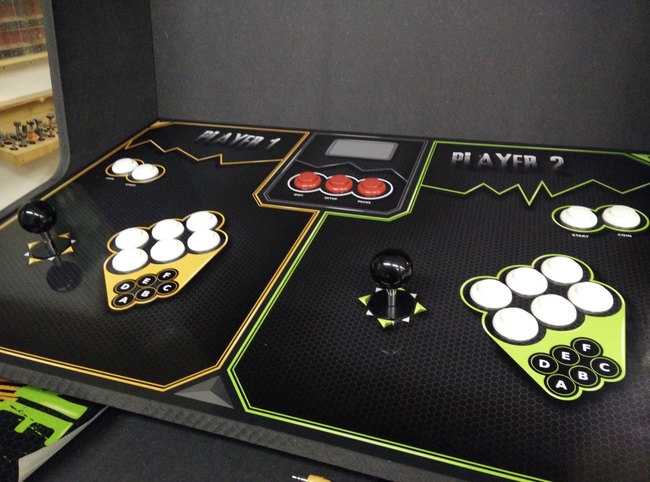
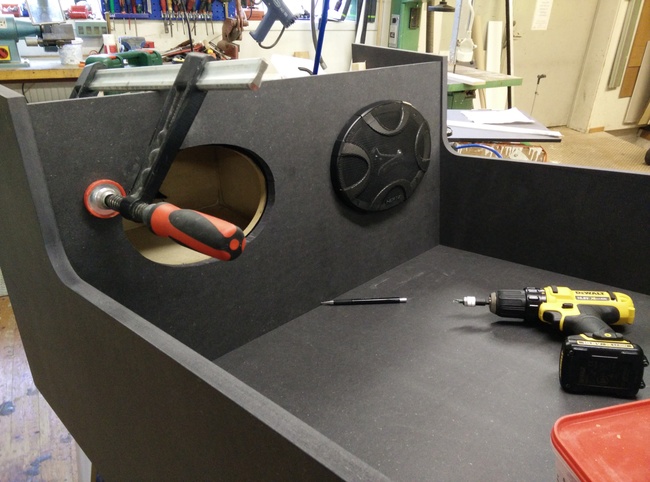
The 16mm MDF was too thick, but a couple of minutes with the plunge router and the joysticks were in place!
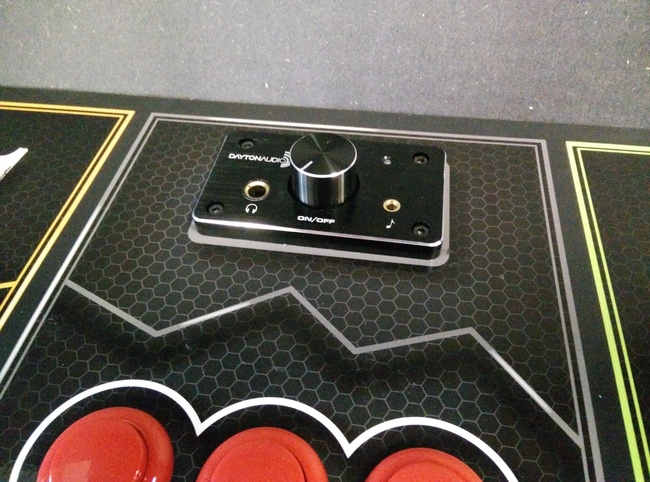
The amplifier is mounted. This was especially nice, since I could get great music quality while working :)
I should have made a better template for the amplifier, but it does fit quite nicely :)
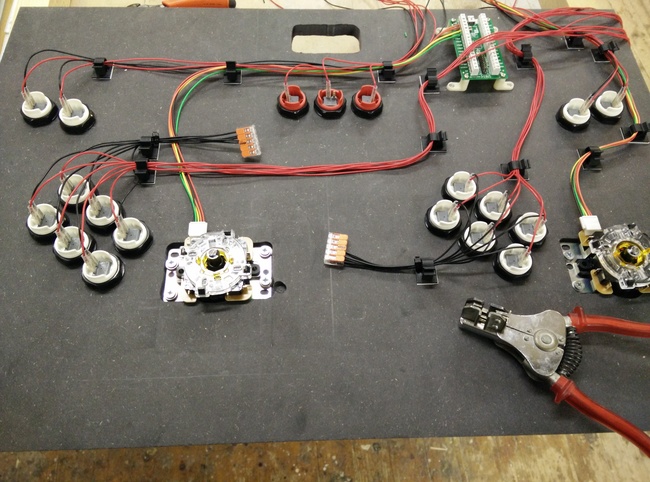
The cable management clips were extremely helpful in getting the cables nice and tight, and still easy to undo when that time comes.
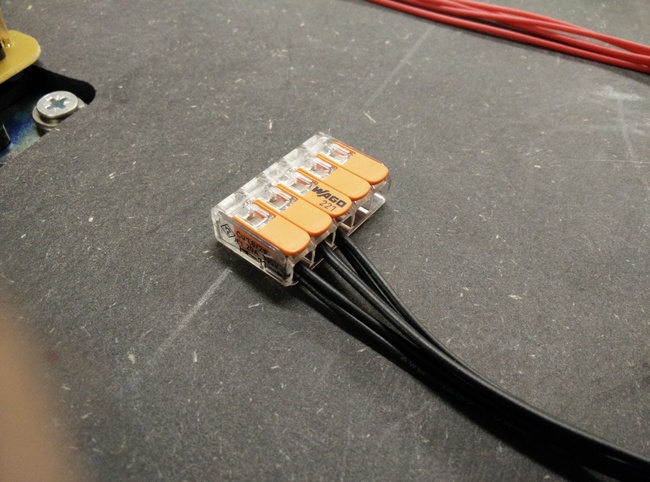
These little blocks were nice to combine the ground cables, and they look cool!
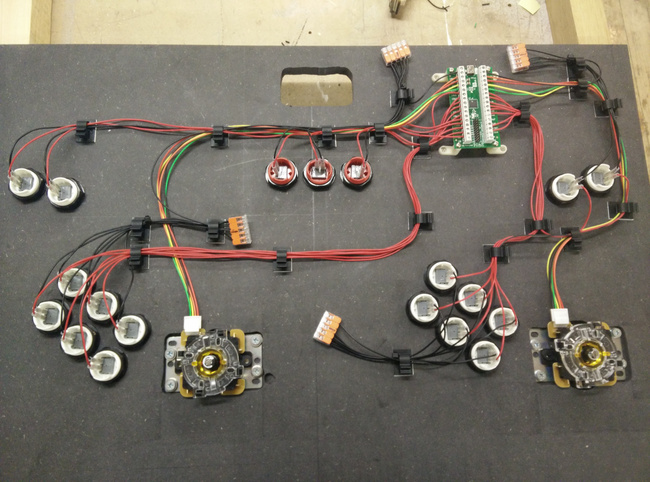
I was more than a little surprised that each and every cable and connection worked flawlessly on the very first try!
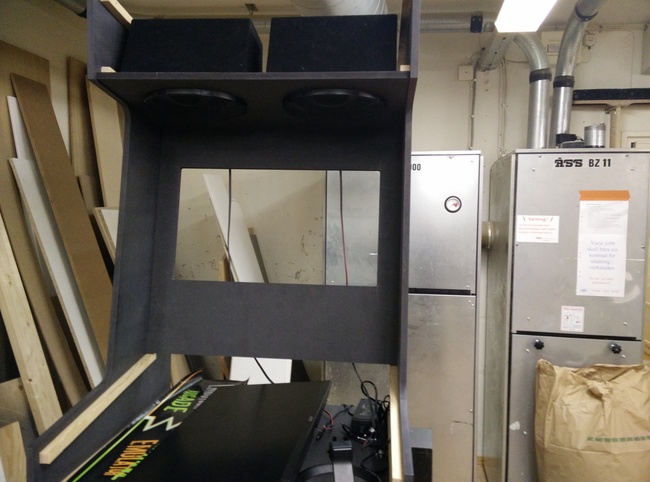
Bezel
Monitor
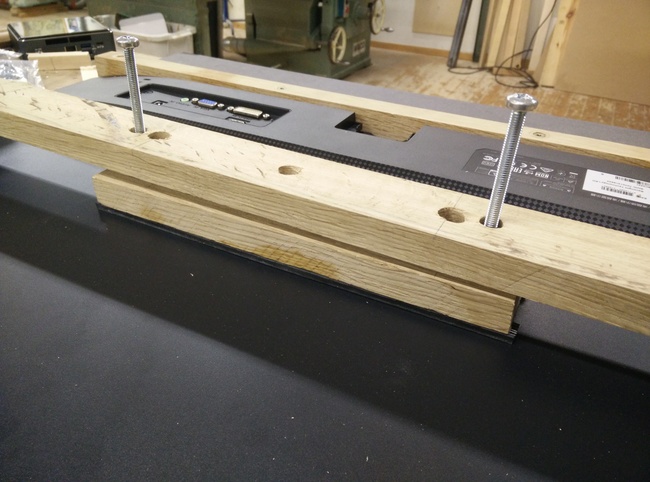
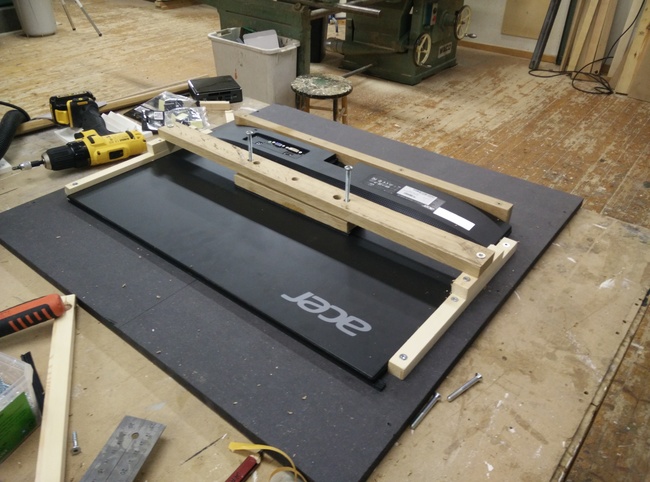
The monitor is tragically thin, it feels like you're going to break it in half every time you lift it :'(
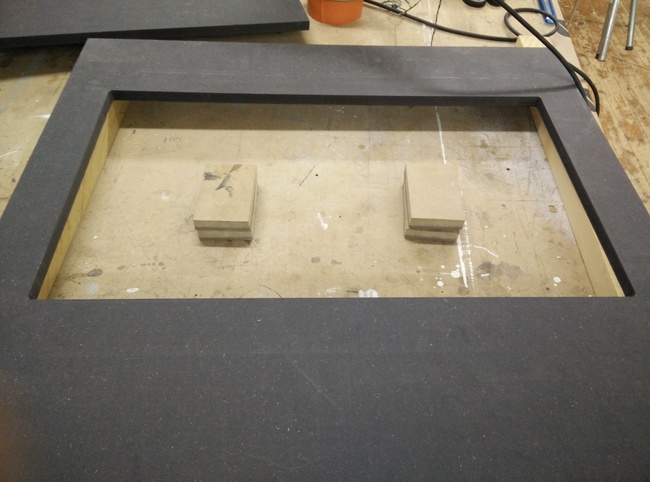
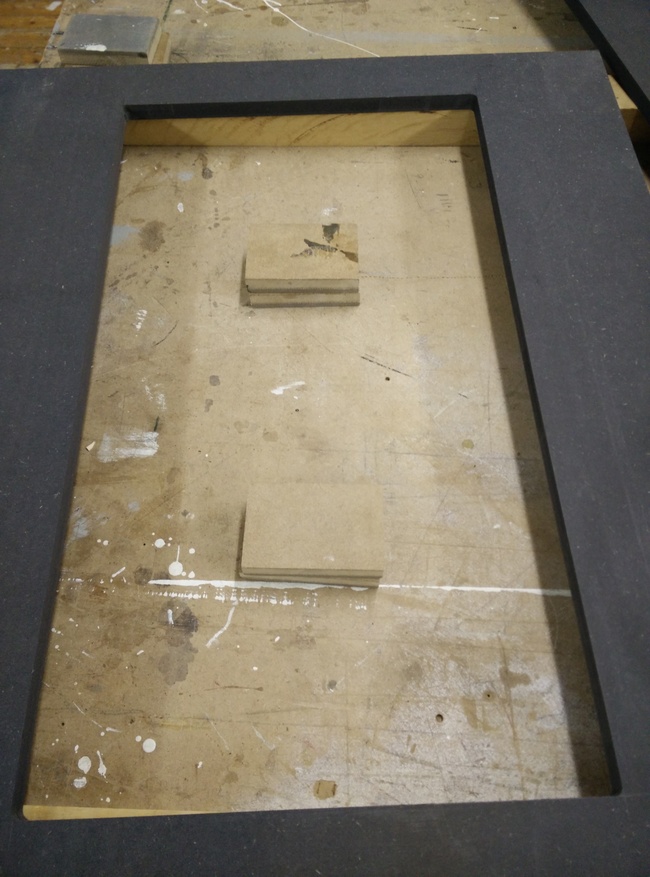
So I had to come up with something that would allow me to very gradually press it against the sealing profile between the bezel and the monitor, and ended up with a couple of screw-nuts hammered into the horizontal bar.
Easy to remove to access the monitor, and the monitor hasn't moved a hair, even with some very spirited gaming sessions :)
Cabinet details
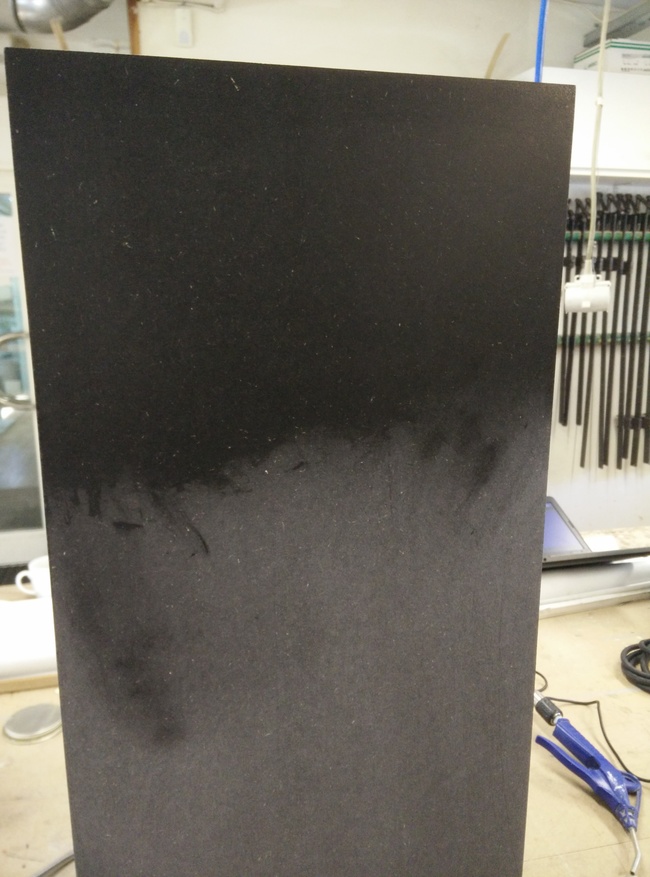
Hardwax oil! Did quite a difference!
Most of the cabinet oiled.

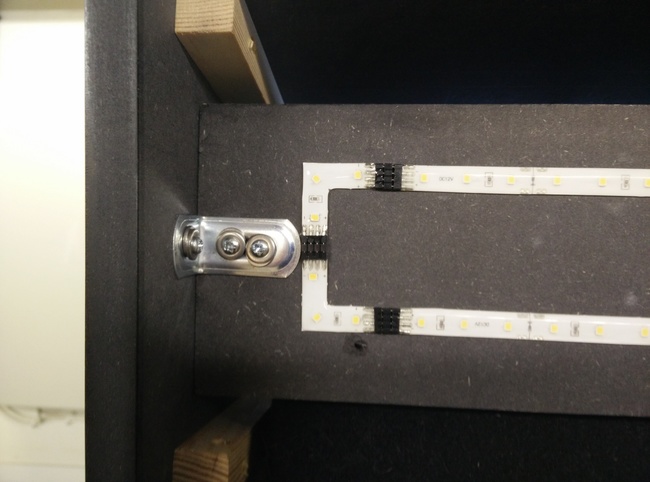
The LED kit is such a narrow fit, it's almost ridiculous!

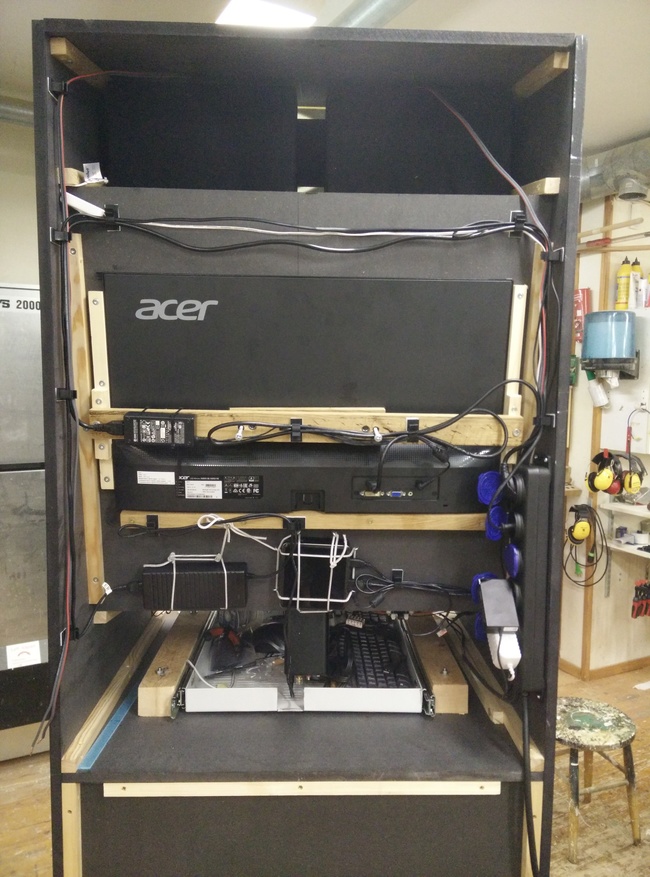
I misplaced the mounting plate for the NUC...

Extremely robust tray from an old Compaq rack. Slides really nice on those rails though.
This is one heavy duty tray, especially with 2*16mm MDF to fill it up, but I can almost support my weight on it =)
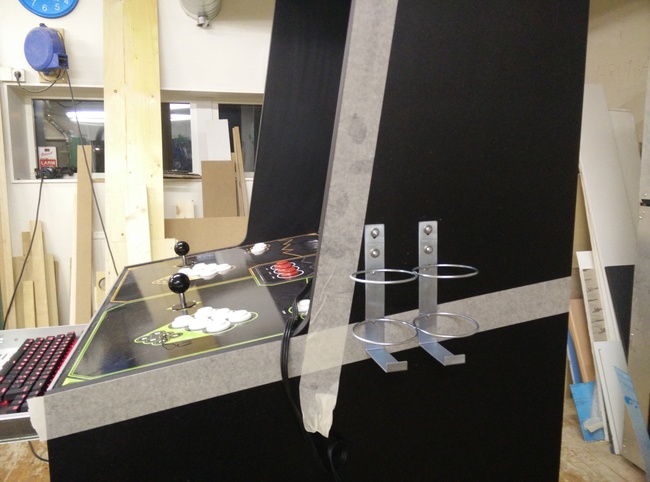
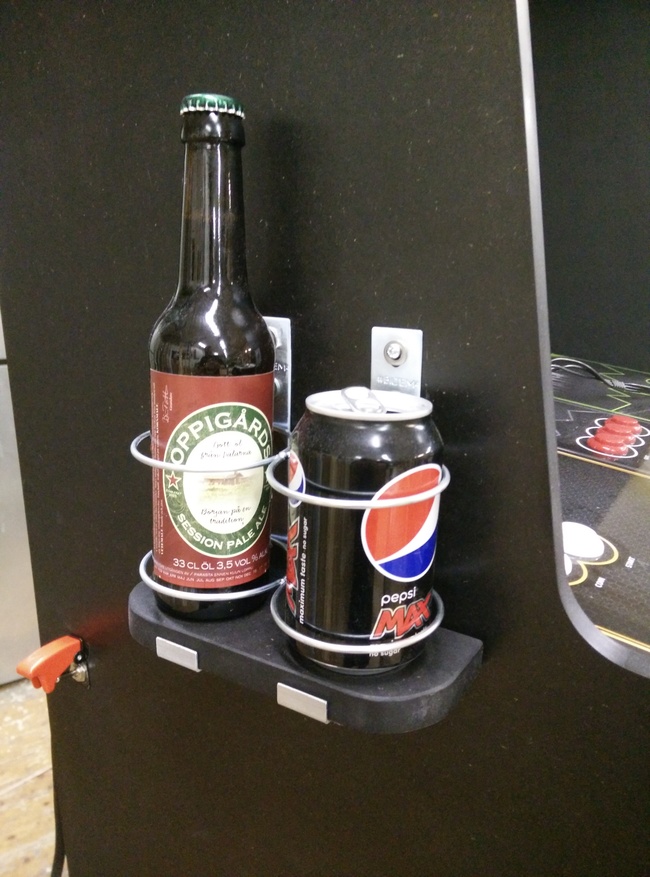
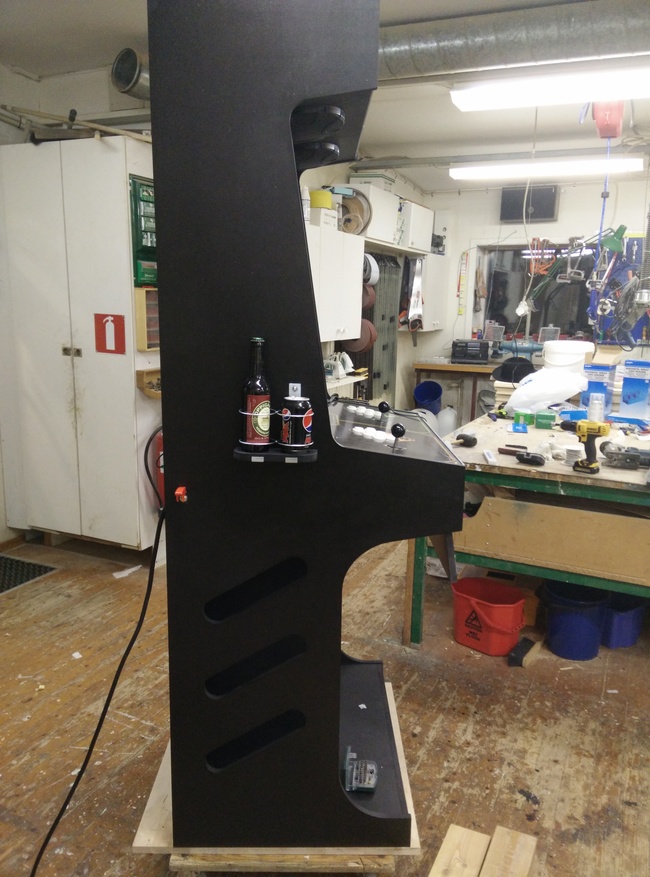
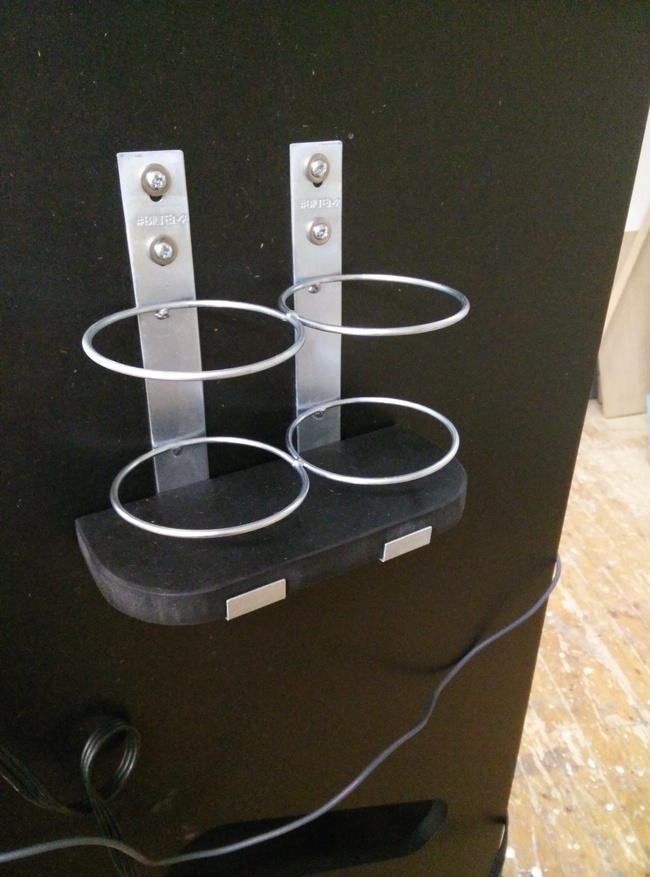
Beverage holders
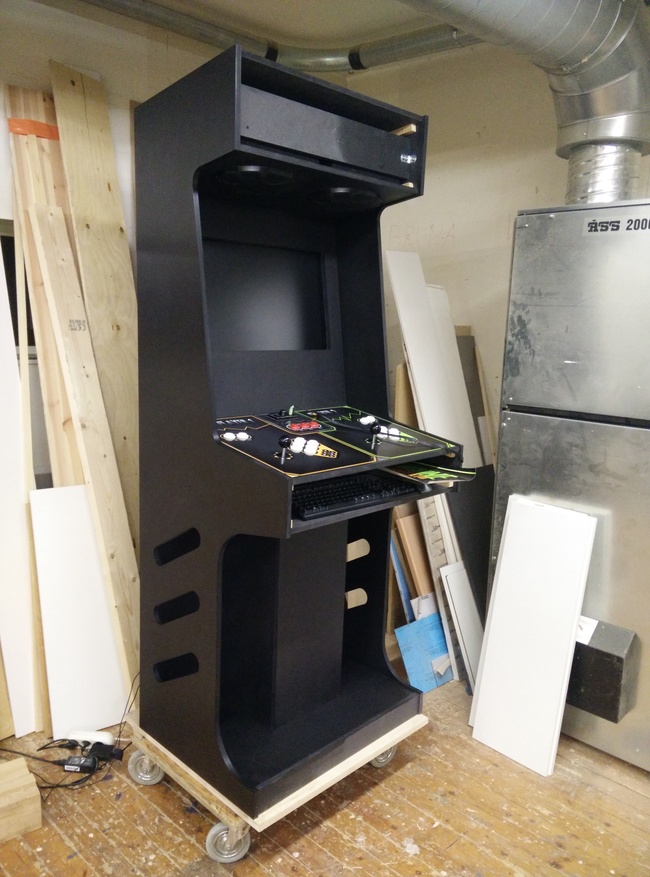
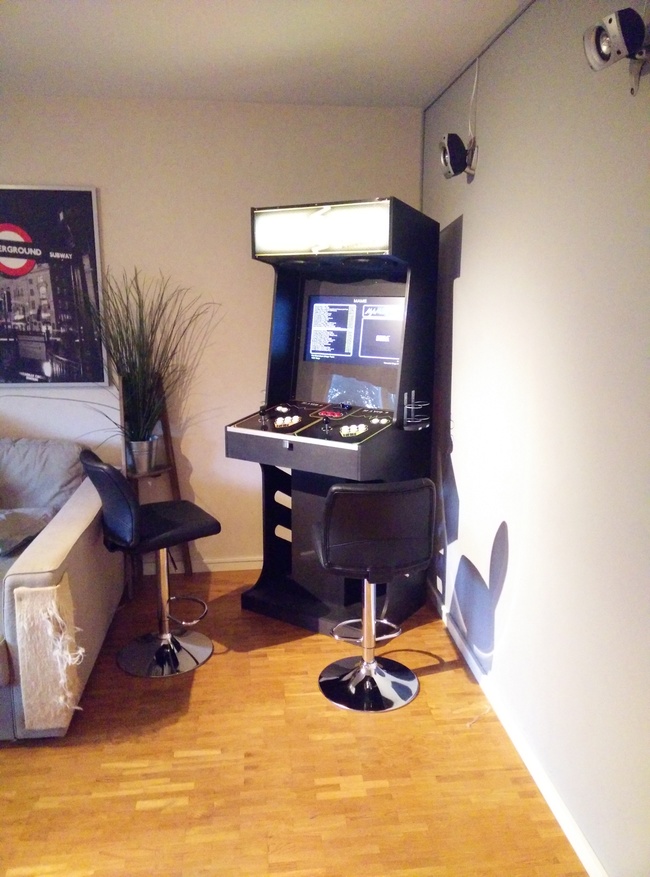
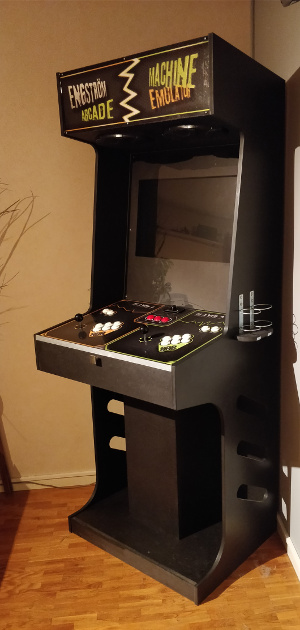
Finished arcade machine
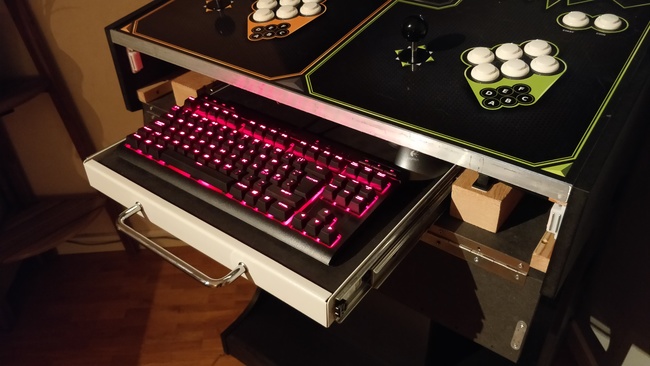
Finally! I didn't leave much margin on the depth for the elevator door opening, so we had to remove the keyboard tray knob for it to fit :)
And damn, the cabinet is fuckin' heavy!
Miscellaneous graphics
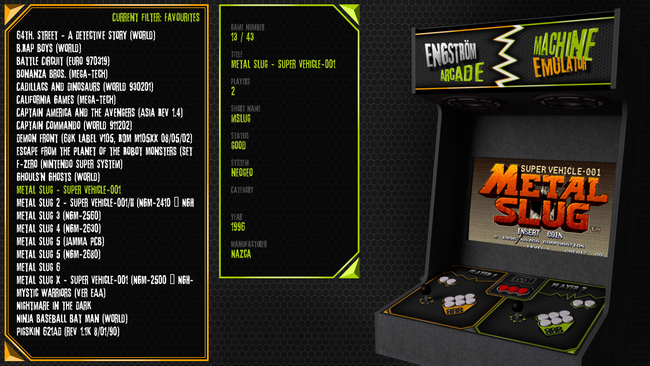
The primary Attract Mode theme. Based on the control panel and marquee shapes and colors.
Didn't manage any good photos of the cabinet with the marquee lit, so I used the 3D model.

I could have gone with "Magnus" instead of "Engström" and gotten M-A-M-E instead, but there are enough of those ;)
The control panel graphics... this took some serious time before I was satisfied!

.jpg)